If you live in a home with a well, you may have experienced low water pressure at some point. t’s a frustrating moment – you turn on the tap but only get a weak trickle of water. But don’t panic quite yet – there are usually several different factors that cause well pressure to decrease over time. Understanding the root of the problem is key to getting your water flow back to normal levels.
Low water pressure can be frustrating and inconvenient, making it difficult to take showers, wash dishes, or do laundry. There are many possible causes of low water pressure in well water systems, ranging from clogged pipes and fixtures to a malfunctioning pressure switch or a failed pressure tank.
Fortunately, there are also many solutions to improve water pressure, depending on the underlying cause of the problem. In this blog post, we will explore the common causes of low water pressure in well water systems, how to diagnose and fix the issue, and tips for preventing low water pressure in the future.
You’ll learn how to monitor your pressure levels, inspect your well components, and determine when professional repairs may be necessary. We’ll also discuss preventative maintenance that can maximize your well’s performance and prevent pressure problems down the road. Get ready to pinpoint and fix lackluster water pressure from your residential well!
What Causes Low Water Pressure in Wells?
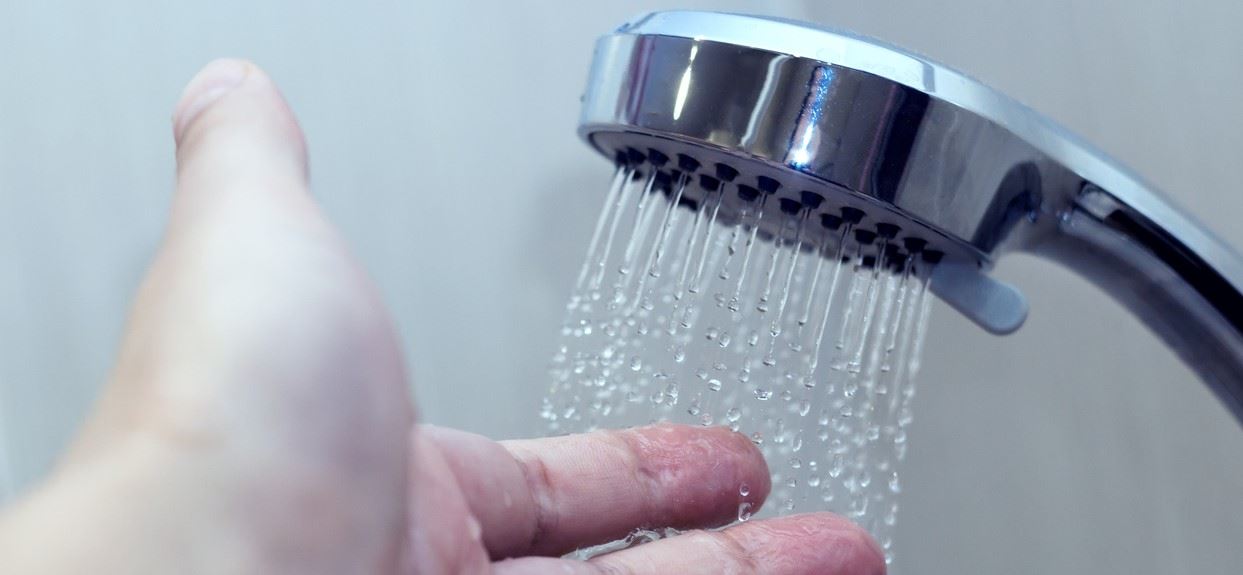
When it comes to home water systems, there’s an unspoken trust we place in that steady, robust stream that gushes forth every time we turn on the tap. So, it’s understandably disconcerting when what was once a torrent becomes a tepid trickle. The question inevitably arises, “What’s causing this drop in water pressure from my well?” We’re about to explore this in depth, breaking down each potential culprit.
-
Age and Wear of Well Components
Well components like pumps, pipes, and tanks all have limited lifespans. Over years of use, wear and tear causes efficiency to drop. Old and corroded piping develops restrictive mineral buildup. Well pumps lose pumping capacity. Tanks leak pressure. Inspecting all components and replacing aged parts can restore pressure.
-
Inspect the Pressure Tank
Pressure tanks maintain pressure between pump cycles. Bladder or diaphragm breakdown causes air loss and water logged tanks, lowering pressure. Inspect the tank air pressure and recharge if needed. Signs of waterlogging or leaks may require new tank.
-
Clogged Water Filters
Particulates like sand and sediment can restrict water flow through well filters. Inspect filters regularly and replace clogged cartridges. Flushing pipes may also help clear built up sediment.
-
Clogged Sediment Filter
Sediment filters prevent grit and larger particles from entering your system. Over time, these filters can become filled, inhibiting water movement and reducing pressure. Remove and clean or replace old sediment filters.
-
Check the Pressure Switch
The pressure switch turns the well pump on and off at programmed pressures. Malfunctioning switches allow pump to cycle too frequently, overworking and wearing the pump. If malfunctioning, it can lead to inconsistent or low water pressure.
-
Checking Your Well Pump
Pump capacity naturally declines with age. Mineral deposits and general wear reduce pumping efficiency. A professional pump test can determine if replacement is required to improve low pressure.
-
Checking Your Pump Pipes
Corrosion and mineral buildup inside supply pipes adds friction, lowering pressure. A professional well contractor can check piping condition with pipe camera inspection and clean or replace as needed.
-
Valve Issues
If any valves within the system are not fully open or are malfunctioning, they can reduce the overall water flow, leading to decreased pressure.
-
Dirty Water
If water appears murky, it might indicate a clogged well screen or other underground issues, which can restrict water flow.
-
Increased Water Usage
If multiple appliances or faucets are running simultaneously beyond the well’s capacity, this can lead to a temporary drop in pressure.
-
Leaks Allowing Air into Pipes
Small leaks and loose fittings allow air to enter the pipes, leading to spurts and drops in pressure. Inspect all fittings and solve any leaks in the system.
-
Well Running Low Requiring Deepening
Sometimes, due to environmental factors or overuse, the water level in a well can drop. If too low, deepening the well might be required.
-
Changes in Local Water Table Levels
External factors like drought, or high water usage in the community, can lower the local water table, affecting your well’s output.
-
Mineral Buildup and Corrosion
Minerals slowly deposit on well walls and pipes, decreasing water flow over years. Similarly, corrosion can narrow the pipe’s diameter, restricting flow. A professional clean and chlorination treatment can clear buildup and disinfect corroded components.
-
Iron Bacteria Buildup
Iron bacteria naturally occur in some water sources. As populations grow, thick bacterial slime coats components, lowering pressure. Disinfecting shock treatments help control iron bacteria.
How to Increase Well Water Pressure: A Step-by-Step Guide
Having low well water pressure can be a significant inconvenience. Fortunately, there are several ways to address this issue. Let’s explore a step-by-step guide on increasing your well water pressure to restore that vigorous flow.
1. Inspect the Pressure Gauge
- Step 1: Locate the pressure gauge on your pressure tank.
- Step 2: Note the reading. A typical residential water system operates between 40-60 psi. If it’s below this range, it could be causing your low pressure.
2. Adjust the Pressure Switch
- Step 1: Ensure the power to the pump is turned off for safety.
- Step 2: Locate the pressure switch, typically near the pressure tank.
- Step 3: Remove the cover from the pressure switch.
- Step 4: Adjust the larger nut to raise the water system’s cut-off and cut-on pressure. Turning it clockwise increases the pressure.
- Step 5: Replace the cover and turn the power back on. Check the pressure gauge to ensure it reflects the desired pressure.
3. Clear Clogged Filters
- Step 1: Turn off the main water supply.
- Step 2: Locate the water filter housing.
- Step 3: Remove the filter and inspect it. If it’s clogged or dirty, replace it with a new one.
- Step 4: Turn the water supply back on and check the pressure.
4. Examine the Pressure Tank
- Step 1: With a pressure gauge, check the air pressure in the tank. It should be 2 psi below the cut-on pressure for the pump.
- Step 2: If it’s too low, use an air compressor or bicycle pump to add air.
- Step 3: If the tank is waterlogged (full of water and no air), it might need replacement.
5. Upgrade Your Well Pump
- Step 1: Determine the capacity of your current pump and assess if it meets your household’s demands.
- Step 2: Consult with a professional to help you choose a more powerful pump if needed.
- Step 3: Replace the old pump with a new one, or hire a professional to do so.
6. Check for Leaks
- Step 1: Turn off all taps and water-using appliances in the house.
- Step 2: Observe the meter. If it’s still running, there’s a potential leak.
- Step 3: Inspect the system, especially joints and connections, for any signs of leaks.
- Step 4: Repair any identified leaks or consult a plumber for assistance.
7. Increase Pipe Diameter
- Step 1: Identify the main supply pipes and their diameter.
- Step 2: Replace narrower pipes with wider ones to allow more water to flow. This is a more extensive solution but can significantly improve water pressure.
- Step 3: If unsure, consult a plumbing expert to guide you.
8. Install a Pressure Booster Pump
- Step 1: Purchase a booster pump that suits your home’s size and needs.
- Step 2: Install it on the main water line just after the meter or storage tank.
- Step 3: Turn on the booster, and it will automatically boost the pressure of the water passing through.
9. Regular Maintenance
- Step 1: Set a schedule to routinely inspect and maintain your well system.
- Step 2: Check for mineral buildups, iron bacteria, and other common issues that might reduce pressure.
- Step 3: Consider annual professional inspections to ensure optimal performance.
When to Call a Professional for Your Well Water Pressure Issues
Dealing with well water pressure can sometimes feel like navigating a maze, and while many fixes can be tackled with a DIY spirit, there are times when it’s wise to call in the professionals. Recognizing when to do so can save you time, money, and potential further complications.
- If you have tried basic troubleshooting steps and the low water pressure issue persists, it may indicate a more complex problem that requires professional attention.
- For electrical issues with the pressure switch, pump motors, wiring or controls. Never attempt electrical repairs yourself unless properly trained and equipped.
- To test well output and pump performance. Professionals have flow testing instruments to check pumping capacity and drawdown rates over time. This data helps size components and determine if pump replacement is needed.
- For pipe inspections. A camera survey can check the condition of buried piping. Professionals have pipe cleaning tools to clear blockages.
- If water is severely discolored, smells abnormal or contains sediments. Shock chlorination and professional system flushing may be required.
- When the water supply is determined to be inadequate. Test pumping, water table measurements and yield estimates are needed to evaluate deepening or new well options.
- For mineral or bacterial contamination like iron bacteria. Treatment systems and disinfection procedures may be prescribed.
- For major repairs like pump replacement or tank installation. Professionals have the tools, knowledge and access to parts needed for repairs.
- If the well needs to be cleaned, treated or shock chlorinated. Specific expertise is required using chemicals in wells.
Conclusion
In summary, low water pressure in well water systems can be caused by various factors, ranging from clogged pipes and fixtures to a malfunctioning pressure switch or a failed pressure tank.
Fortunately, there are many solutions to improve water pressure, depending on the underlying cause of the problem. These solutions include checking the pressure gauge, inspecting the pressure tank, checking the pressure switch, inspecting the pipes and fixtures, installing a water pressure booster pump, installing a constant pressure system, and upgrading to larger pipes.
However, if the low water pressure issue persists or if you encounter any safety concerns, it is important to call a professional plumber or well contractor for assistance. By following these tips and seeking professional help when needed, you can ensure a steady and adequate water supply from your well system.

